Mga Pangunahing Punto
- HSG is best scheduled between cycle day 7 and 12, after menstruation ends but before ovulation
- The procedure involves speculum placement, catheter insertion, dye injection, and real-time X-ray imaging
- The entire procedure typically takes 15 to 30 minutes from start to finish
- Most women can return to normal activities the same day with only mild cramping
- Light spotting and cramping for 24 to 48 hours after the test is normal and expected
If your doctor has recommended an HSG test (hysterosalpingography), understanding exactly what happens during the procedure can help ease your concerns and allow you to prepare properly. The HSG is a well-established diagnostic procedure that evaluates the uterus and fallopian tubes using contrast dye and real-time X-ray imaging.
This guide walks you through the complete HSG test procedure step by step, from scheduling and preparation through the actual test and aftercare, so you know exactly what to expect at each stage.
Before the HSG: Scheduling and Timing
The timing of your HSG test within your menstrual cycle is important. The procedure is typically scheduled between cycle day 7 and day 12, counting from the first day of your period. This window is chosen for two reasons: your period has ended so the uterine lining is thin and provides clearer images, and ovulation has not yet occurred so there is no risk of disrupting a potential early pregnancy.
When you call to schedule your HSG, the clinic will ask about the first day of your last period to determine the optimal appointment date. If your cycles are irregular, your gynecologist may advise a specific approach to timing. It is important to avoid unprotected intercourse from the start of your period until after the HSG is completed to eliminate any possibility of pregnancy during the procedure.
Preparation Before the Procedure
Preparing for an HSG test is straightforward, but following your doctor's instructions helps ensure a smooth experience. Here is what most patients are advised to do in the days and hours leading up to the test.
Medications and Pain Management
Many doctors recommend taking an over-the-counter pain reliever such as ibuprofen (400-600 mg) approximately 30 to 60 minutes before the procedure. This helps reduce cramping during and after the dye injection. Some clinics may also prescribe a mild sedative or offer additional pain management options for patients who are particularly anxious. Always follow your specific doctor's recommendations regarding pre-procedure medications.
What to Bring and What to Wear
Wear comfortable, loose-fitting clothing to your appointment. You will need to change into a hospital gown from the waist down. Bring a sanitary pad, as light spotting after the procedure is common. Also bring your doctor's referral letter, any previous imaging results, and your insurance card if applicable. Having someone drive you home is usually not necessary, but some patients prefer it for comfort.
Allergy and Infection Screening
Before the procedure, the medical team will ask about any allergies, particularly to iodine or contrast dyes, as the contrast medium used in HSG contains iodine. If you have a known allergy, inform your doctor well in advance so that alternative arrangements or premedication can be planned. You will also be asked about any signs of active pelvic infection, as HSG should not be performed during an active infection due to the risk of spreading bacteria.
The HSG Procedure: Step by Step
Understanding each step of the procedure removes much of the uncertainty. Here is exactly what happens during a typical HSG test, from the moment you enter the procedure room to completion.
Step 1: Positioning on the Fluoroscopy Table
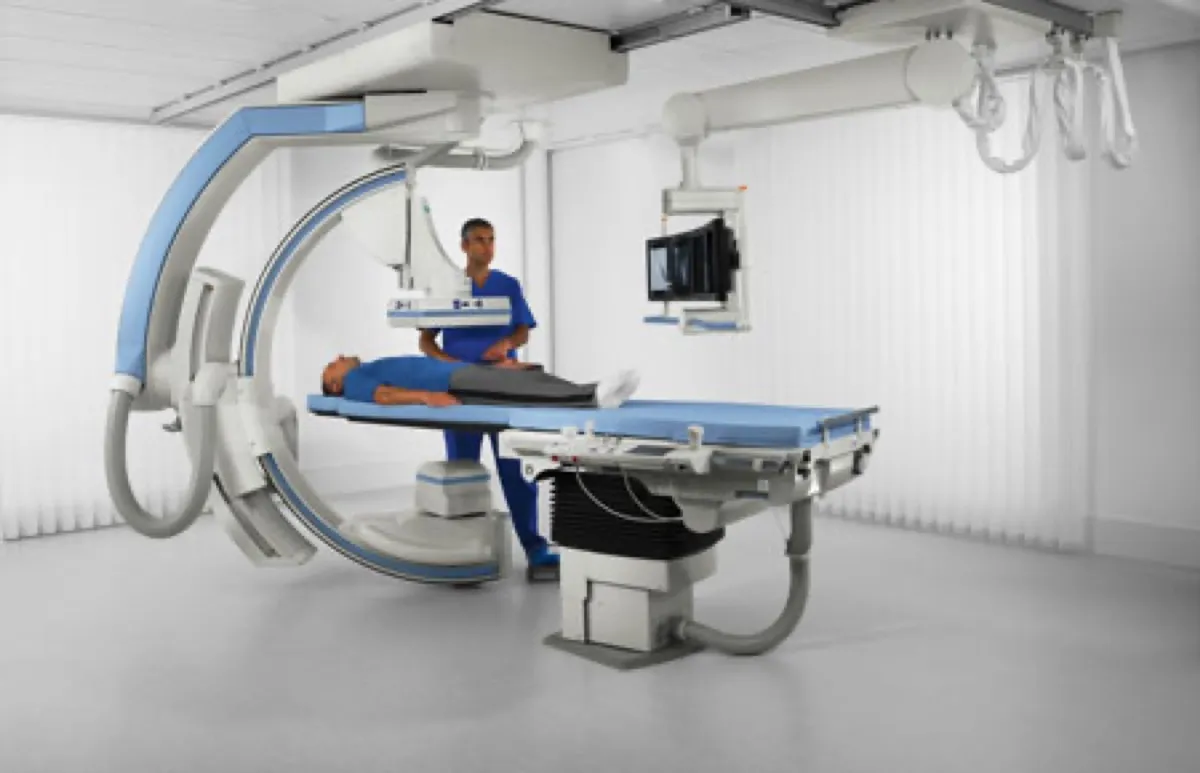
You will be asked to lie on your back on the fluoroscopy table, which is similar to a standard examination table but positioned under an X-ray machine. Your feet will be placed in stirrups or supports, similar to a gynecological exam position. The radiologist and assisting nurse will be present, and they will explain each step before proceeding.
Step 2: Speculum Insertion
A speculum is gently inserted into the vagina to allow the doctor to see the cervix. This is the same instrument used during a routine Pap smear or pelvic exam. You may feel some pressure, but this step is generally not painful. The cervix is then cleaned with an antiseptic solution to reduce the risk of infection.
Step 3: Catheter Placement
A thin, flexible catheter is carefully inserted through the cervical opening into the lower part of the uterus. Some doctors use a catheter with a small balloon that is inflated inside the uterus to keep it in place and prevent dye from leaking back out. You may feel a brief pinch or cramping sensation during this step, which is one of the more uncomfortable moments of the procedure. The discomfort is usually brief.
Step 4: Contrast Dye Injection
Once the catheter is positioned, the speculum may be partially or fully removed to allow clear X-ray imaging. The radiologist then slowly injects the iodine-based contrast dye through the catheter. As the dye fills the uterine cavity, you may feel a warm sensation and moderate cramping. The cramping is caused by the dye distending the uterine walls and is the part of the procedure that most women notice the most. The dye injection takes only about 30 to 60 seconds.
Step 5: Real-Time X-Ray Imaging (Fluoroscopy)
As the contrast dye flows through the uterus and into the fallopian tubes, the radiologist watches the movement in real time on a fluoroscopy screen. Multiple X-ray images are captured at key moments: when the dye fills the uterine cavity, when it enters the fallopian tubes, and when it spills out the ends of the tubes into the pelvic cavity (indicating the tubes are open). The imaging portion takes approximately 5 to 10 minutes.
Step 6: Catheter Removal and Completion
Once sufficient images have been captured, the catheter is gently removed. The contrast dye will naturally drain from the uterus and be absorbed by the body over the following hours. The entire procedure from speculum insertion to catheter removal typically takes 15 to 30 minutes. You will be asked to rest for a few minutes before getting dressed.
"I always walk patients through each step before I begin, so nothing comes as a surprise," says Dr. Osama Elzamzami, Consultant Radiologist at DCDC. "When a patient knows exactly what is happening and why, her body relaxes, the cervix is more accommodating, and the whole procedure goes more smoothly. In my experience, the women who have the most comfortable HSG tests are the ones who felt informed before they even got on the table."
What Does HSG Feel Like? Managing Discomfort
Most women describe the HSG as uncomfortable rather than severely painful. The most common sensations include pressure during speculum and catheter placement, a brief pinch during cervical catheterization, and moderate cramping during dye injection. The cramping sensation is similar to menstrual cramps and typically lasts only during the injection itself.
Women with blocked tubes may experience more intense cramping because the dye meets resistance and causes greater pressure. Conversely, women with open tubes often report less discomfort because the dye flows through easily. For more detailed information about pain levels and management, see our guide on HSG test pain.
Duration of the HSG Procedure
| Phase | Approximate Duration |
|---|---|
| Check-in and gown change | 10 – 15 minutes |
| Positioning and preparation | 5 – 10 minutes |
| Speculum and catheter placement | 3 – 5 minutes |
| Dye injection and imaging | 5 – 10 minutes |
| Catheter removal and rest | 5 – 10 minutes |
| Total visit time | 30 – 50 minutes |
Actual times may vary depending on individual anatomy and clinical findings.
Aftercare: What to Expect After HSG
After the HSG procedure, most women can return to their normal daily activities immediately or within a few hours. However, there are several things to be aware of during the recovery period.
Normal Post-Procedure Symptoms
- Mild to moderate cramping for several hours after the procedure, similar to menstrual cramps
- Light vaginal spotting or discharge for 24 to 48 hours, which may be slightly discolored from the contrast dye
- A small amount of watery discharge as the remaining contrast dye drains
- Mild discomfort that can be managed with over-the-counter pain medication
Activity Restrictions
Most doctors advise avoiding sexual intercourse, tampon use, and douching for 24 to 48 hours after the procedure to reduce the risk of infection. You can shower normally. Strenuous exercise is usually fine to resume the next day, though some women prefer to wait an extra day if cramping persists.
A 29-year-old marketing executive who came to DCDC for her HSG shared her experience: she had read numerous accounts online that made her extremely anxious about the procedure. On the day of her test, the nurse walked her through every step in advance and stayed beside her throughout. She described the dye injection as "strong menstrual cramps that lasted about 45 seconds." By the time she left the clinic, the cramping had reduced to a dull ache, and she went back to work the following morning. She later told our team that knowing the exact sequence of events beforehand was what made the biggest difference in her comfort level.
When to Contact Your Doctor
While complications from HSG are uncommon, you should contact your doctor if you experience heavy vaginal bleeding (soaking through a pad in an hour), fever or chills within 24 to 48 hours after the procedure, severe or worsening abdominal pain, or foul-smelling vaginal discharge. These symptoms could indicate an infection and should be evaluated promptly.
Getting Your HSG Results
In many cases, the radiologist can provide preliminary findings immediately after the procedure. However, a detailed written report is usually available within 24 to 48 hours. Your referring gynecologist will review the report and images with you during a follow-up consultation, explaining what the findings mean for your specific situation and what the recommended next steps are.
For a comprehensive guide to understanding your results, see our article on how to read HSG test results.
HSG at DCDC Dubai Healthcare City
At Doctors Clinic Diagnostic Center, the HSG procedure is performed by experienced radiologists using modern fluoroscopy equipment in a dedicated procedure room. With over 13 years of continuous operation in Dubai Healthcare City and more than 1,000 diagnostic scans conducted every month across all imaging modalities, our team brings the depth of experience that directly translates into smoother, more efficient procedures. We take a patient-centered approach, ensuring clear communication at every step and providing comfort measures to minimize discomfort during the test.
We coordinate scheduling with your menstrual cycle to ensure the test is performed during the optimal window. Pre-procedure consultations are available for patients who have questions or concerns, and follow-up appointments are scheduled promptly so that results can be discussed without unnecessary waiting. Our HSG test services are designed to make this important diagnostic step as smooth as possible.
Book Your HSG Test Appointment
Doctors Clinic Diagnostic Center in Dubai Healthcare City offers comfortable and accurate HSG testing with experienced radiologists. We coordinate scheduling with your cycle for the best results.
Book HSG TestMga Madalas Itanong
Final Thoughts
The HSG test is a brief but important procedure that provides valuable information about your reproductive anatomy. Knowing what to expect at each step, from scheduling during the right time in your cycle to understanding aftercare instructions, can significantly reduce anxiety and help you have a more comfortable experience. The procedure itself is quick, and most women find the discomfort manageable with simple preparation.
At Doctors Clinic Diagnostic Center in Dubai Healthcare City, we prioritize patient comfort and clear communication throughout the HSG process. If you have been advised to undergo an HSG test, our team is ready to guide you through every step with expertise and care. For information about pricing and insurance, visit our HSG test cost in Dubai guide.
Mga Sanggunian at Reperensya
Ang artikulong ito ay sinuri ng aming medikal na team at tumutukoy sa mga sumusunod na sanggunian:
- American College of Radiology - HSG Procedure Guidelines
- Radiological Society of North America - Patient Information on HSG
- American Society for Reproductive Medicine - Infertility Workup
- Dubai Health Authority - Diagnostic Imaging Standards
Ang medikal na nilalaman sa site na ito ay sinusuri ng mga DHA-licensed na manggagamot. Tingnan ang aming patakarang editorial para sa higit pang impormasyon.

Isinulat ni
Dr. Osama Elzamzami
Consultant Radiologist
MD, Radiology
Dr. Osama Elzamzami is a Consultant Radiologist specializing in diagnostic imaging including MRI, CT, ultrasound, and fluoroscopy procedures such as HSG at DCDC Dubai Healthcare City.